How we added User Notify support to GitLab to send emails
Abstract
This page provides a narrative summary of how we added support to GitLab to send email with User Notify. This page is intended to be of interest to anyone who needs to add email sending to an application which, for one reason or another, cannot use our Python integration library.
User Notify is an internal DevOps service intended to provide a single solution to the problem of notifying a user that some event has happened. To begin with this notification will be via email but over time we hope User Notify can encompass other notification tasks such as sending a text message or alerting a user in a hypothetical University of Cambridge app.
As of writing, most of our services use SendGrid to send email. At the start of this process GitLab also used SendGrid to send email. We're looking to migrate away from SendGrid because it is a) expensive and b) difficult to get service-specific reports from it. (This being a major pain point when using it for Undergraduate Admissions.) Additionally, SendGrid requires a static SMTP credential which cannot be managed via terraform, must be manually rotated and comes with all the associated annoyances of keeping a static shared secret confidential.
User Notify, by contrast, uses an authentication flow which does not depend on maintaining a static SMTP credential secret and can provide rich reporting per-service to teams managing those services.
Ordinarily we recommend that people send email using our dedicated User Notify library but this isn't always possible. In the case of GitLab, we do not package the software which is deployed and so it is non-trivial to add native User Notify support.
This page summarises how we added User Notify support to GitLab by making use of a SMTP bridge.
Aside from a small amount of support from the User Notify admins regarding onboarding and service configuration, the vast majority of the work outlined here happened in the GitLab deployment terraform. The ability of teams to take ownership of permissions and reporting is an important feature in the design of User Notify.
Where we were
GitLab is deployed from a dedicated terraform configuration and has its own set of operational documentation. It's worth skimming the operational documentation to get a flavour of the deployment but this section provides a summary.
Since GitLab comes packaged from GitLab themselves as a helm chart, we need to deploy it in a Kubernetes cluster. We create an auto-scaling, Google managed Kubernetes cluster using Google Kubernetes Engine. The cluster and helm chart deployment are managed entirely by terraform.
What is helm?
Helm is a templating and deployment engine for Kubernetes. In brief, one provides a set of input configuration values as a YAML document and it outputs a set of Kubernetes resources which should exist. Additionally helm takes care of the deployment lifecycle where it will ensure that the set of Kubernetes resources present match the set which should be present.
The helm chart deploys multiple Kubernetes resources in order to make GitLab work. One of these
resources is a "Pod". A Kubernetes Pod is one or more containers which run together and which can
talk to one another via localhost. A cluster can have multiple Pods which can talk to each other
on a private network. A Pod can be specified to have multiple instances running within the same
cluster and our GitLab cluster is configured to try to keep at least one Pod running on each node
within the cluster. A Kubernetes "Ingress" is a special resource which specifies how network traffic
from outside of the cluster is routed to different Pods.
Since there are multiple Pods making up a GitLab deployment, we use another Kubernetes resource called a "ConfigMap" which provides a single source of configuration which is mounted inside each Pod. This means that all the Pods see a consistent set of configuration.
The following diagram provides a simplified version of how GitLab was deployed:
flowchart TB

user["👤 User"]

subgraph project ["Google Project"]
    subgraph "☸️ Kubernetes Cluster"
        ingress["Ingress<br/>[nginx]"]
        config_map["Shared configuration<br/>[Kubernetes ConfigMap]"]

        subgraph "Webservice Pod (multiple)"
            webservice["📦 Webservice container<br/>Provides user-facing UI"]
        end

        subgraph "Sidekiq Pod (multiple)"
            sidekiq["📦 Sidekiq container<br/>Runs queued tasks"]
        end
    end
end

webservice -->|Mounts| config_map
sidekiq -->|Mounts| config_map

user -->|Makes request| ingress
ingress -->|Forwards requests| webservice
webservice -->|Schedules aynchronous tasks| sidekiq
Note
This diagram is heavily simplified and elides a great deal of detail in order to highlight the features which were changed. It is a lie-to-children.
SMTP credentials are configured inside the shared ConfigMap. When an email needs to be sent, a task is placed on the Sidekiq queue and the Sidekiq container reads the SMTP configuration and sends the email. The following diagram summarises the process:
flowchart TB

recipient["👤 Recipient"]

subgraph sendgrid ["SendGrid"]
    sendgrid_token["🔑 SMTP Token<br/><font color='red'>Manually rotated</font>"]
end

subgraph project ["Google Project"]
    subgraph "☸️ Kubernetes Cluster"
        config_map["Shared configuration<br/>[Kubernetes ConfigMap]"]
        smtp_secret["🔑 SMTP Token Secret<br/>[Kubernetes Secret]"]

        subgraph "Sidekiq Pod (multiple)"
            sidekiq["📦 Sidekiq container<br/>Runs queued tasks"]
        end
    end
end

sendgrid_token manual_sendgrid_sync@-->|Manually mirrored| smtp_secret

sidekiq -->|Mounts| config_map
config_map -->|References| smtp_secret
sidekiq -->|Submits email| sendgrid
sidekiq -->|Reads| smtp_secret
sendgrid -->|Delivers email| recipient

%% Styling
classDef manual color: red, stroke: red;
class manual_sendgrid_sync manual
As noted in the diagram, the SMTP token secret needed to be manually synchronised from SendGrid into
the Kubernetes secret. While we have internal DevOps tooling like the sanctuary tool to aid with
this, it was still a manual step. If the token needed rotating, it would involve close co-ordination
between the SendGrid admins and GitLab admins to ensure that the previous SendGrid token remained
valid while GitLab was moved to a new one.
What we did
Our plan was to move to a model represented by the following diagram. New elements have been highlighted via a dashed border.
flowchart TD

recipient["👤 Recipient"]

subgraph user_notify ["User Notify"]
    subgraph gitlab_un ["gitlab-production service"]
        user_notify_configuration["Service configuration"]
        email_event_log["📝 Email event log"]
    end
end

subgraph project ["GitLab Google Project"]
    send_sa["🤖 Service Account for sending email"]
    report_sa["🤖 Service Account for accessing email event feed"]

    subgraph "☸️ Kubernetes Cluster"
        config_map["Shared SMTP configuration<br/>[Kubernetes ConfigMap]"]

        subgraph "Sidekiq Pod (multiple)"
            sidekiq["📦 Sidekiq container<br/>Runs queued tasks"]
            smtp_bridge["📦 SMTP Bridge<br/>Sidecar container"]
        end
    end
end

sidekiq -->|Mounts| config_map
sidekiq -->|Submits email| smtp_bridge
smtp_bridge -->|Submits email| user_notify

smtp_bridge -->|Impersonates| send_sa

user_notify -->|Delivers email| recipient

user_notify_configuration -->|Authorises sending| send_sa
user_notify_configuration -->|Authorises access to event feed| report_sa
config_map -->|SMTP settings for| smtp_bridge

%% Styling
classDef newNode stroke-dasharray:5 5;
class send_sa,report_sa,gitlab_un,smtp_bridge newNode
Here we have removed the Kubernetes secret and have removed the manual processes associated with it.
Instead we have added an instance of the User Notify SMTP bridge container to the
Sidekiq pod. The SMTP bridge container listens on localhost and can only be talked to by the
Sidekiq pod. This is an example of the "sidecar container pattern". The ConfigMap was updated to
specify localhost as the SMTP host.
Tip
It's not just Kubernetes which supports the sidecar pattern. Most of our services use Cloud Run and Cloud Run supports it too.
The SMTP bridge container acts as a dedicated Google Service Account for sending email which has previously been authorised by the configuration in the User Notify service to send email.
Alongside the updated email sending mechanism, we also wanted to make use of the email events reporting provided by User Notify. We added a dedicated reporting service account which is authorised by User Notify to access email event reports.
We'll cover how reporting was configured in more detail in a later section. The rest of this section outlines how email sending was configured in greater detail.
Adding the email sending service account
In the terraform configuration for GitLab, a service account was added for sending email:
resource "google_service_account" "user_notify_sender" {
  account_id   = "user-notify-sender"
  display_name = "User Notify sender identity"
  description  = <<-EOI
    Used to send email via the User Notify service.
  EOI
}
Note
Some of the terraform on this page has been simplified to remove extraneous detail. Again, this is a lie-to-children. Refer to the full terraform configuration for the complete story.
The reporting service account was created in a similar manner:
# A reporting service account which can be added to the User Notify configuration. Data Studio
# data sources can authenticate as this service account to fetch data.
resource "google_service_account" "user_notify_reporting" {
  account_id   = "user-notify-reporting"
  display_name = "User Notify reporting principal"
  description  = <<-EOI
    Service account which can access email reporting from User Notify.
  EOI
}
Note
We'll cover reporting in more detail below. For the moment it is enough to know that there is a reporting Service Account which all the reporting infrastructure will use to fetch email-related events.
Terraform outputs was added for the Service Accounts in the correct form needed by the User Notify admins:
output "user_notify_service_account" {
  description = <<-EOI
    Value of `federated_google_service_accounts` in the service configuration for User Notify.
  EOI

  value = [
    {
      unique_id = google_service_account.user_notify_sender.unique_id
      email     = google_service_account.user_notify_sender.email
    }
  ]
}

output "user_notify_reporting_iam_principals" {
  description = <<-EOI
    Value to add to `reporting_iam_principals` in the service configuration for User Notify.
  EOI

  value = [
    google_service_account.user_notify_reporting.member
  ]
}
Allowing GitLab to send email
In the world of Kubernetes, each Pod is associated with a Kubernetes Service Account identity. Google Kubernetes Engine includes the ability to set Cloud IAM policies for these Kubernetes Service Accounts. In the case of GitLab we wanted to allow the Kubernetes Service Account which GitLab runs as to impersonate the Google Service Account used for sending email. This was done with the following terraform:
# Ensure that k8s service accounts corresponding to GitLab pods can impersonate the sender Google
# service account. The format of the IAM principal here is taken from
# https://docs.cloud.google.com/kubernetes-engine/docs/how-to/workload-identity.
resource "google_service_account_iam_member" "user_notify_sender_gitlab_pods" {
  service_account_id = google_service_account.user_notify_sender.name
  role               = "roles/iam.serviceAccountTokenCreator"
  member             = join("", [
    "principal://iam.googleapis.com/projects/${local.project_number}/",
    "locations/global/workloadIdentityPools/${local.project}.svc.id.goog/",
    "subject/ns/${local.gitlab_k8s_namespace}/sa/default"
  ])
}
The project_number, project and gitlab_k8s_namespace locals are set elsewhere in the GitLab
deployment.
Once applied this resulted in the Google Service accounts being provisioned. For the purpose of this
document we'll use user-notify-sender@uis-gitlab.iam.gserviceaccount.com as the email address of
this email sending Service Account and 101234567890 as the unique id. For the reporting service
account we'll use user-notify-reporting@uis-gitlab.iam.gserviceaccount.com as the email address.
Registering with User Notify
Registration with User Notify was performed in co-ordination with the User Notify team to ensure that best practice was being followed. This resulted in two service definitions being created in User Notify.
The first was a service called gitlab-production:
# yaml-language-server: $schema=./schema/service.yaml

# Note: this will be visible to recipients if no From address is set when sending email.
display_name: GitLab on the Developer Hub

# From addresses have a "local part", the bit before the "@", and a "domain", the bit after the "@".
# User Notify has a fixed set of domains configured which are each identified by a domain
# identifier. The default domain is "notify.apps.cam.ac.uk" but in this case we use a custom domain,
# "developers", which corresponds to "developers.cam.ac.uk".
from_addresses:
  - local_part: gitlab
    domain_identifier: developers

# If the User Notify admins need to contact the service owners about a technical issue, these are
# the addresses they will email.
technical_contacts:
  - cloud@uis.cam.ac.uk
  - devops-devex@uis.cam.ac.uk

# Google Service Account identities which are allowed to send email.
federated_google_service_accounts:
  # Sending service account from "production".
  - unique_id: "101234567890"
    email: user-notify-sender@uis-gitlab.iam.gserviceaccount.com

# Cloud IAM principals which are allowed to access the email event feed.
reporting_iam_principals:
  # Cloud Team - the uis-cloud-team group in Lookup.
  - "group:105531@groups.lookup.cam.ac.uk"
  # Reporting service account from "production".
  - "serviceAccount:user-notify-reporting@uis-gitlab.iam.gserviceaccount.com"

# User Notify writes some non-secret configuration information in JSON format to service-specific
# Cloud Storage objects. The technical IAM principals have access to read the contents of this
# object.
technical_iam_principals:
  # Cloud Team - the uis-cloud-team group in Lookup.
  - "group:105531@groups.lookup.cam.ac.uk"
The second was a service called gitlab-testing which was identical except that it sent email from
gitlab-testing@developers.cam.ac.uk and it had an explicit allow-list of recipients.
Tip
If you are configuring a service to use User Notify, restricting the set of possible recipients for email sent from non-production environments is highly recommended.
Putting it all together
We were now in a situation where we had the two pieces of configuration work done:
- Kubernetes Pods in GitLab could impersonate a dedicated "sending email" Google Service Account.
- That Service Account was configured in User Notify to be able to send email from
gitlab@developers.cam.ac.uk.
The final piece of the puzzle was adding a sidecar container to the Sidekiq pod to allow email to be sent.
Note
In the final configuration we also added sidecar containers to other Pods since they also had access to SMTP configuration and could, in principle, be used for sending email. Our expectation was that this would not normally be the case but we wanted to ensure that all Pods which could see the email configuration would also be able to send email.
The GitLab-authored Sidekiq chart supports adding extra containers to the pod via
the extraContainers configuration value. We provide configuration values in terraform when
specifying the helm release and so adding a new value is easy. The format of the setting is a YAML
document which specifies an array of Kubernetes Container specifications. In our
case, the extraContainers value looked like:
- name: user-notify-bridge
  image: registry.gitlab.developers.cam.ac.uk/uis/devops/user-notify/ucam-user-notify/smtp-bridge:1.3.6
  resources:
    limits:
      memory: 2Gi
      ephemeral-storage: 200Mi
    requests:
      cpu: 100m
      memory: 500Mi
      ephemeral-storage: 50Mi
  env:
    - name: USER_NOTIFY_SERVICE_NAME
      value: gitlab-production
    - name: USER_NOTIFY_IMPERSONATE_SERVICE_ACCOUNT
      value: user-notify-sender@uis-gitlab.iam.gserviceaccount.com
In reality, this value was constructed in the locals.tf file which was used to configure GitLab. This let us do nice things like automatically set the name of the service account and use renovatebot to keep the SMTP bridge image version fresh.
With the sidecar configured, we then needed to change the GitLab SMTP configuration from pointing at
SendGrid to pointing at localhost on port 1025.
And, just like that, GitLab was sending email via User Notify.
Secretless configuration
Note that nothing in the configuration above required a static secret to be shared between the User Notify service and the GitLab service. There is nothing to rotate and nothing to keep confidential.
When we want to send email, the SMTP bridge container creates a short-lived token for the Google Service Account which is signed by Google and presents that to User Notify. User Notify is configured to trust authentication tokens signed by Google.
This form of "secretless" authentication ensures that there is no credential which we must keep confidential and no credential which we need to rotate. Any credentials which are created as part of the authentication process have a lifetime of a few minutes. Even if they were leaked, they become useless within a few minutes.
Reporting
One of the advantages User Notify brings is being able to configure per-service reporting of email events. You give User Notify a set of identities who should be able to access reporting information. User Notify gives you back a BigQuery table which contains your events and which can be queried by the identities you provided.
An email event has a type ("Send", "Delivery", "Bounce", "Complaint", etc) along with some metadata such as message id, "from" address, "to" address, timestamp, etc.
For GitLab we wanted to be able to use Data Studio, part of the University's Google Workspace offering, to be able to ingest the email events and to produce a publicly visible dashboard as an experiment.
In Data Studio, "reports" are generated from one or more "data sources". Both of these have an "owner"
which must be a Google Workspace account. Rather than having them owned by an individual, we decided
to use the cloud@serviceaccount.g.apps.cam.ac.uk non-personal Google Workspace account as the
owner.
As described above, we had already created a reporting Google Service account which we configured
with User Notify to be able to access email event reporting. Our plan was to create a data source in
Google Data Studio and grant cloud@serviceaccount.g.apps.cam.ac.uk permission to impersonate the
reporting Service Account. This would allow the non-personal account to create a data source and use
Service Account credentials when authenticating to BigQuery.
The following diagram depicts our deployment plan:
flowchart TD

operator["👤 Operator"]

subgraph user_notify ["User Notify"]
    subgraph gitlab_un ["gitlab-production service"]
        user_notify_configuration["Service configuration"]
        email_event_log["📝 Email event log"]
    end
end

subgraph google_workspace ["Google Workspace"]
    gw_owner["Non-personal Google Workspace Account<br/>cloud@serviceaccount.g.apps.cam.ac.uk"]

    subgraph data_studio ["Data Studio"]
        dataset["Events Data Source"]
        report["Email Dashboard"]
    end
end

subgraph project ["GitLab Google Project"]
    report_sa["🤖 Reporting Service Account"]
end

dataset -->|Acts as| report_sa
dataset -->|Queries| email_event_log

gw_owner -->|Owns| dataset
gw_owner -->|Owns| report

user_notify_configuration -->|Authorises access to event feed| report_sa
report -->|Queries| dataset
operator -->|Monitors| report
Permissions
To grant all the correct permissions, we mostly transliterated the Google recommended steps for granting access to a service account into terraform:
# Allow the Data Studio service agent to create authentication tokens for the reporting Service
# Account. The service agent is unique to a specific Google Workspace domain and can be determined
# by visiting https://datastudio.google.com/c/serviceAgentHelp in a browser.
resource "google_service_account_iam_member" "user_notify_reporting_data_studio_service_agent" {
  service_account_id = google_service_account.user_notify_reporting.name
  role               = "roles/iam.serviceAccountTokenCreator"
  member             = "serviceAccount:${local.data_studio_service_agent_email}"
}

# Allow each of the Data Studio data viewer IAM principals to act as the Data Studio service
# account. This is the policy which grants someone in Google Workspace the right to connect to the
# BigQuery table using the service account. IMPORTANT: we do not grant ...TokenCreator since the
# data viewers never *directly* impersonate the service account; Data Studio checks for this
# permission but issues the impersonation token via the Data Studio service agent.
resource "google_service_account_iam_member" "data_studio_data_viewer" {
  for_each = toset(local.data_studio_data_viewer_iam_principals)

  service_account_id = google_service_account.user_notify_reporting.name
  role               = "roles/iam.serviceAccountUser"
  member             = each.value
}
The data_studio_service_agent_email and data_studio_data_viewer_iam_principals were set in the
GitLab deployment's locals.tf file. We made sure that user:cloud@serviceaccount.g.apps.cam.ac.uk
and the Cloud Team's Lookup group was in the list of data viewer IAM principals.
What is a Data Studio service agent?
Data Studio handles impersonation a little strangely. Anyone can configure a data source to use impersonation but when Data Studio comes to actually fetch the data, it doesn't do so as the user which created the data source but rather as a Google Workspace-wide identitiy.
Instead, when it needs to fetch data, it first checks that the owner of the data source has the
roles/iam.serviceAccountUser role on the Google Service Account being impersonated. If the
user has that role then Data Studio uses its own identity to actually impersonate the Service
Account and fetch data. The identity Data Studio uses to actually impersonate the Service
Account is called the "Data Studio service agent". This agent must be granted the
roles/iam.serviceAccountTokenCreator role to actually impersonate the Service Account.
So, in summary, the serviceAccountUser permission tells Data Studio that we allow the owner
of the data source to impersonate the reporting Service Account and the
serviceAccountTokenCreator permission is what tells Google Cloud that Data Studio is allowed
to impersonate the Service Account.
Why the strange double-permissioning? A cynical person would claim it was because Data Studio was a product which Google bought in from outside and is thus not as tightly integrated as it could be.
Creating the data source
In Data Studio a member of the Cloud Team selected Create and then Data source. We then selected the BigQuery connector.
In the UI which then appeared they selected the appropriate table by selecting User Notify -
prod, Email Events and then service-ses-events-gitlab-production. The Cloud Team member
had permissions to see this table since the uis-cloud-team Lookup group was configured as a
reporting IAM principal in User Notify.
Once the Data source was created, they selected their name next to Data credentials in the UI and entered the reporting service account. They then clicked Update.
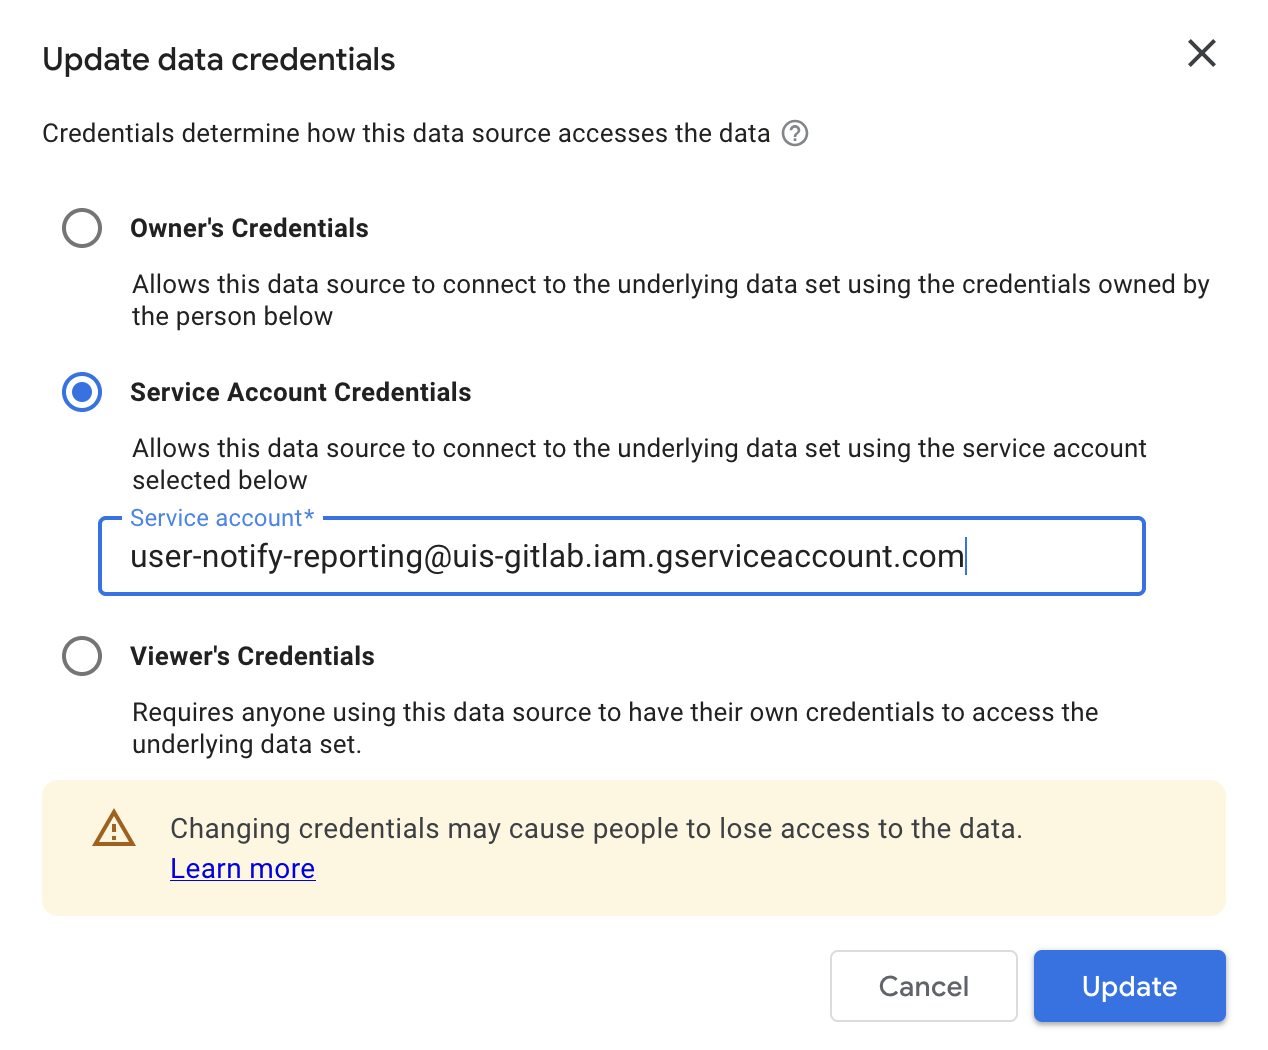
Data Studio UI for editing data source credentials.
Important
Remember, the permissions to allow this had already been added and applied to the terraform configuration.
In the Data Studio UI, they shared the data source with the following identities:
- The
105531@groups.lookup.cam.ac.ukgroup as "Editor" - The
cloud@serviceaccount.g.apps.cam.ac.ukuser as "Editor"
They then removed their own individual access from the data source but retained Editor rights
because of their group membership. Finally, they used the sharing UI to set
cloud@serviceaccount.g.apps.cam.ac.uk as the owner of the data source.
In this way they configured a data source in Data Studio which avoided using any personal credentials for authentication and was not owned by any one individual.
Creating the report
Once the data source was configured, anyone in the Cloud Team could create a report which used the data source. For example, we followed the Google documentation to create a report which provided an example email sending dashboard.
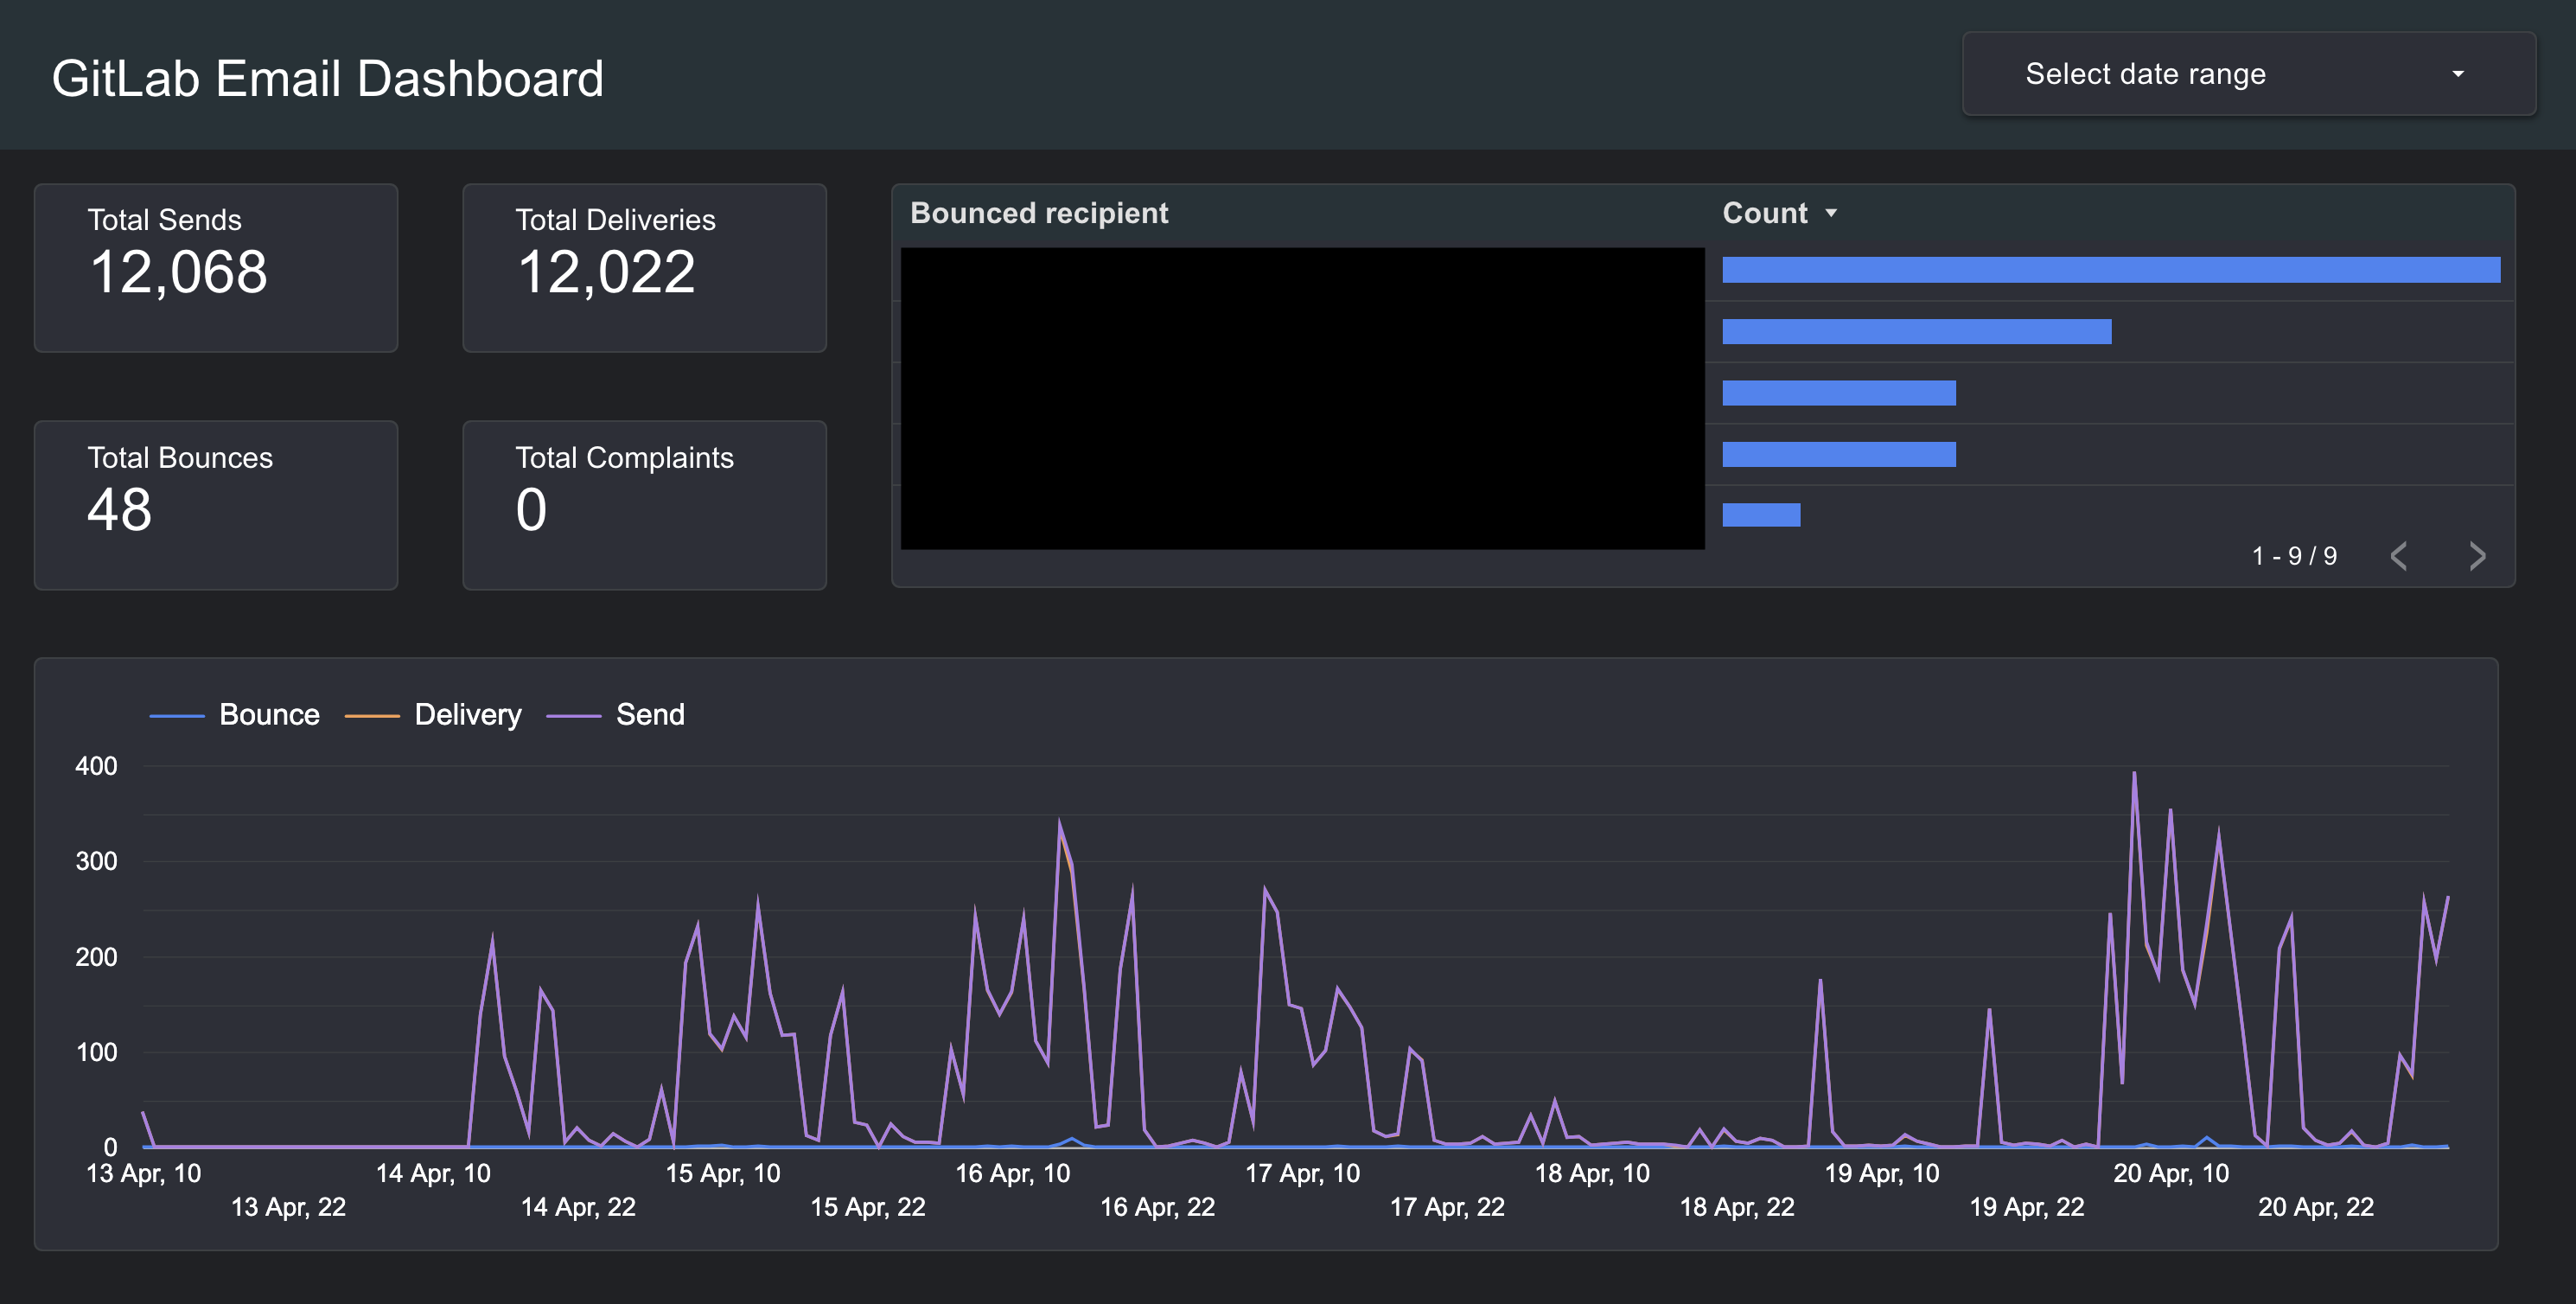
An example dashboard.
Once the dashboard report was created, we could share view-only links with particular Lookup groups or make it publicly visible.
Conclusions and next steps
User Notify has been designed to make it easy to add secretless email sending to our services and to make it easy to get feeds of service-specific events back out. In this explainer guide we showed how we added User Notify to an existing application which could only send email via SMTP. We configured a data feed for email events and connected that data feed to a Data Studio report.
The following documents provide next steps if you want to configure your own service: